 StudioSound Pro
Setup in 6 steps
From installing to a clear voice in Discord takes about 5 minutes. All you need is your microphone and an internet connection.
Create a free account
Sign up with email or with Google or Discord and confirm your email address. You don't need payment details for the trial.
Tip: “Continue with Google” is the fastest way.Download and install StudioSound Pro
Download the setup from the download page and run it. Keep “Install virtual microphone (VB-CABLE)” ticked and confirm the Windows prompt.
Tip: If Windows shows “Windows protected your PC”, click “More info” → “Run anyway”. This appears for new software Windows hasn't seen often yet. You can check that your file is unmodified with the checksum on the download page.Sign in and start the trial
Open StudioSound Pro, go to “Account & licence” and sign in – in the app or via “Sign in with browser”. Then click “Try free for 24 hours”.
Choose your mic and calibrate
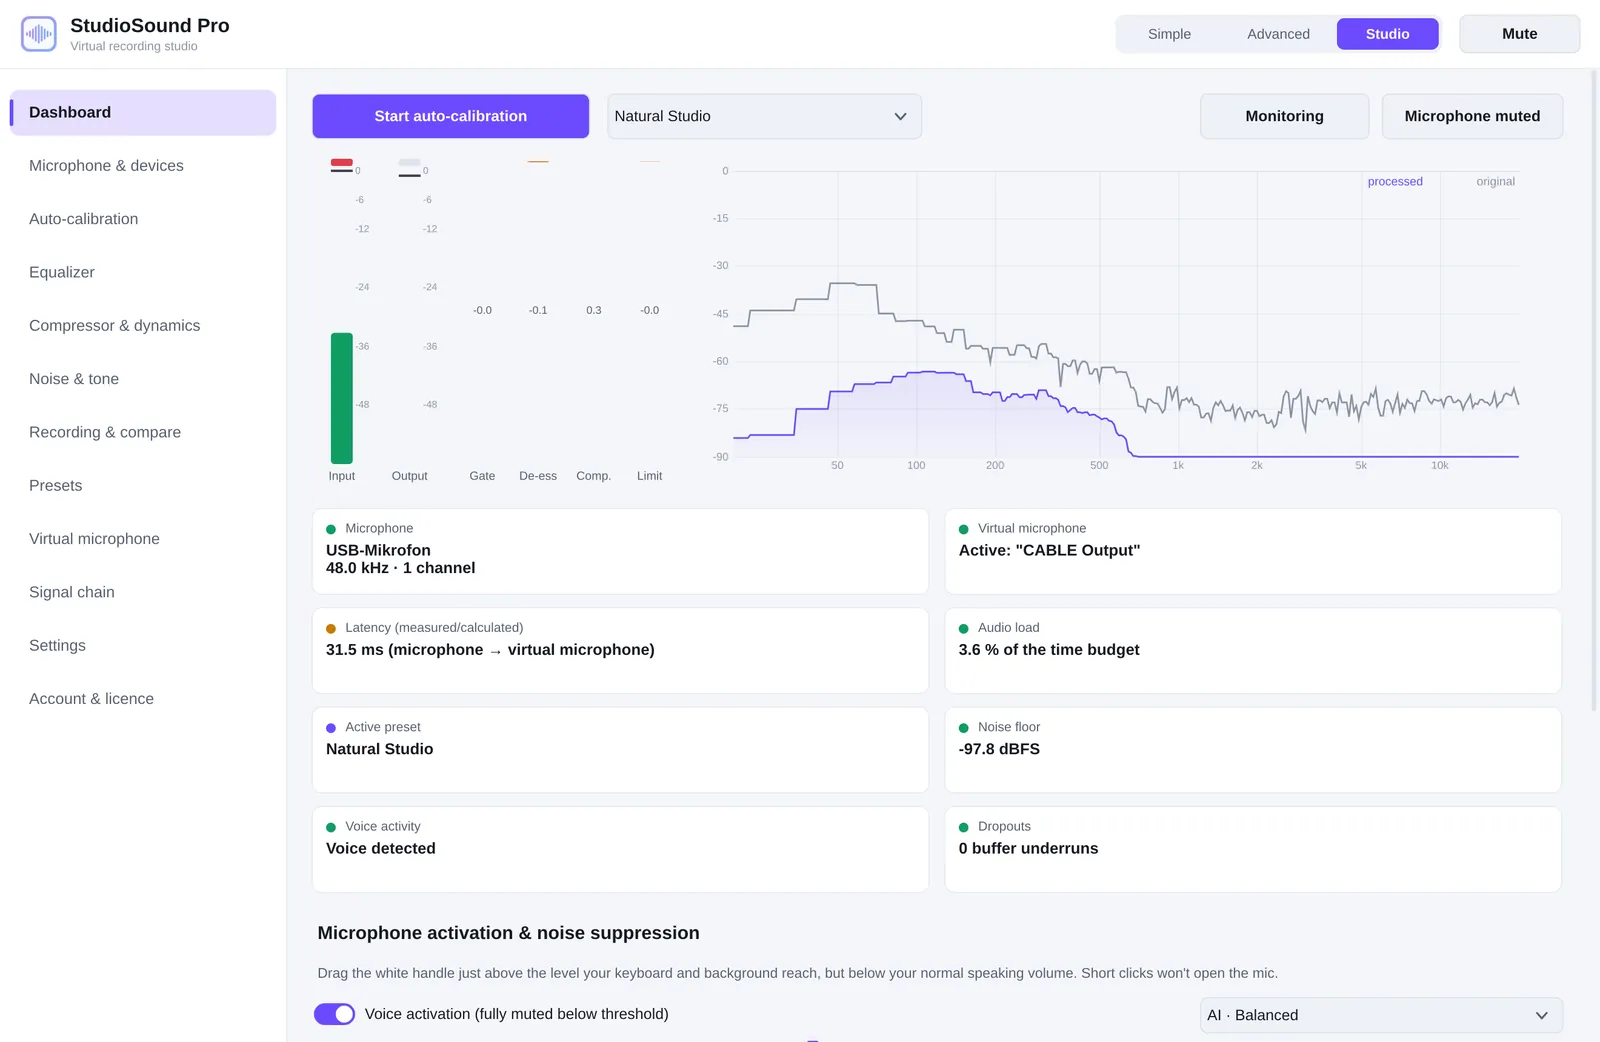
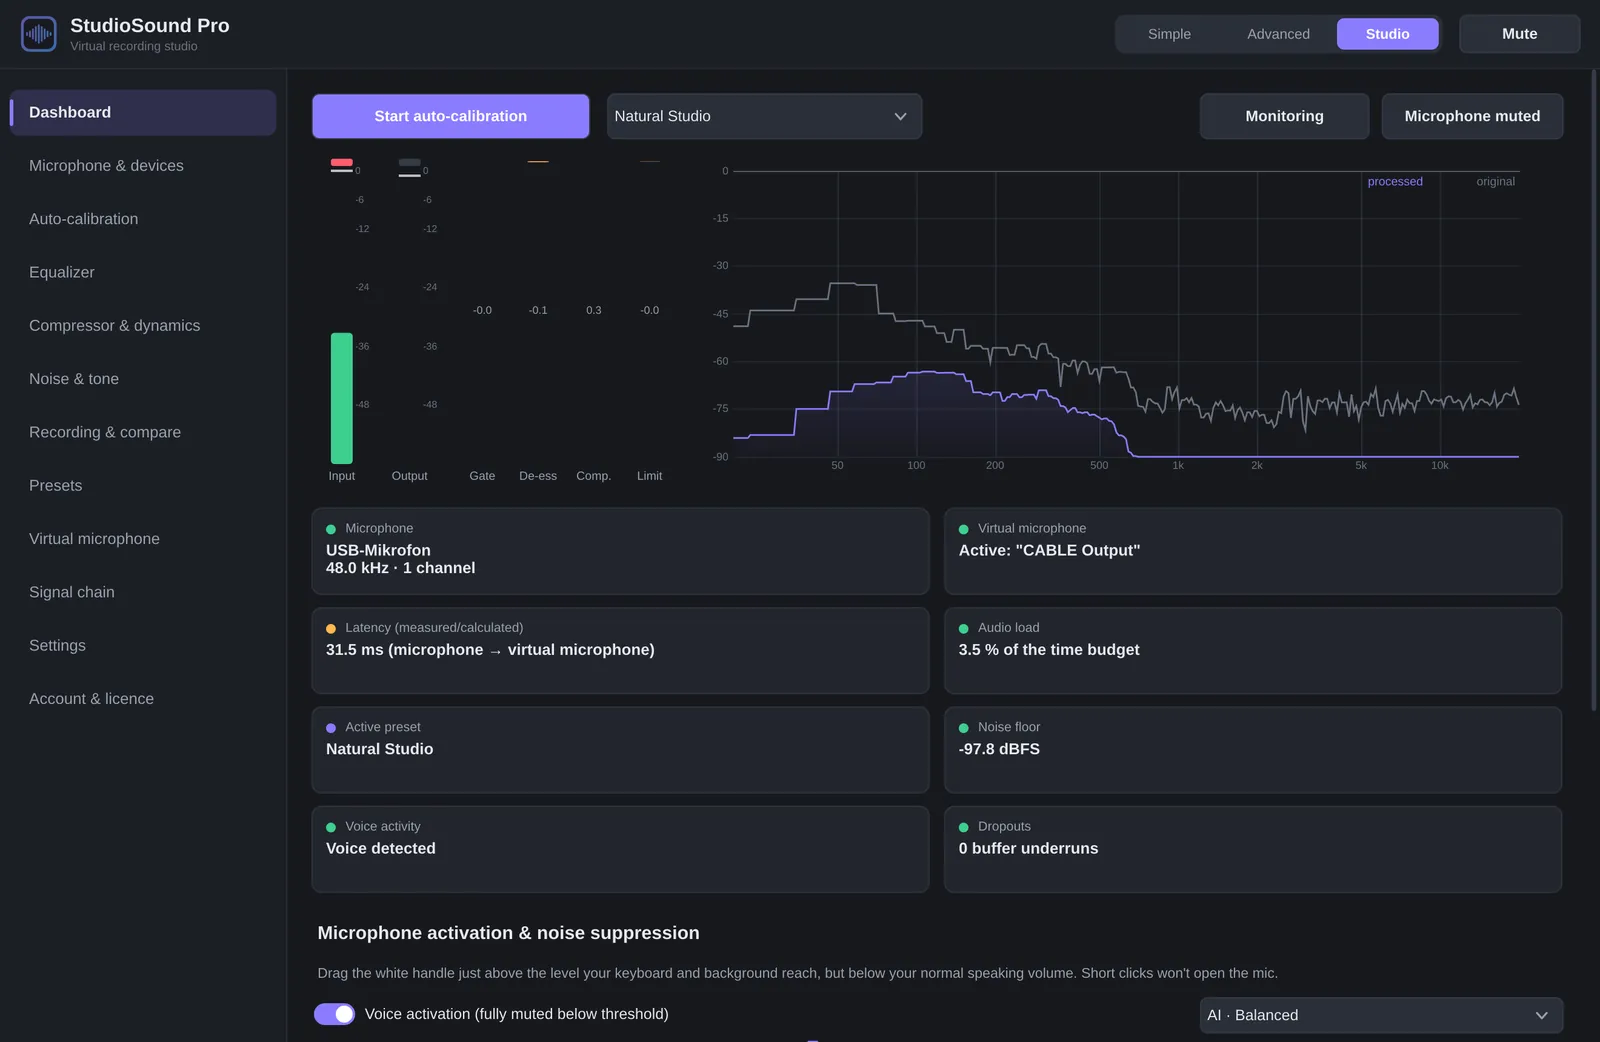
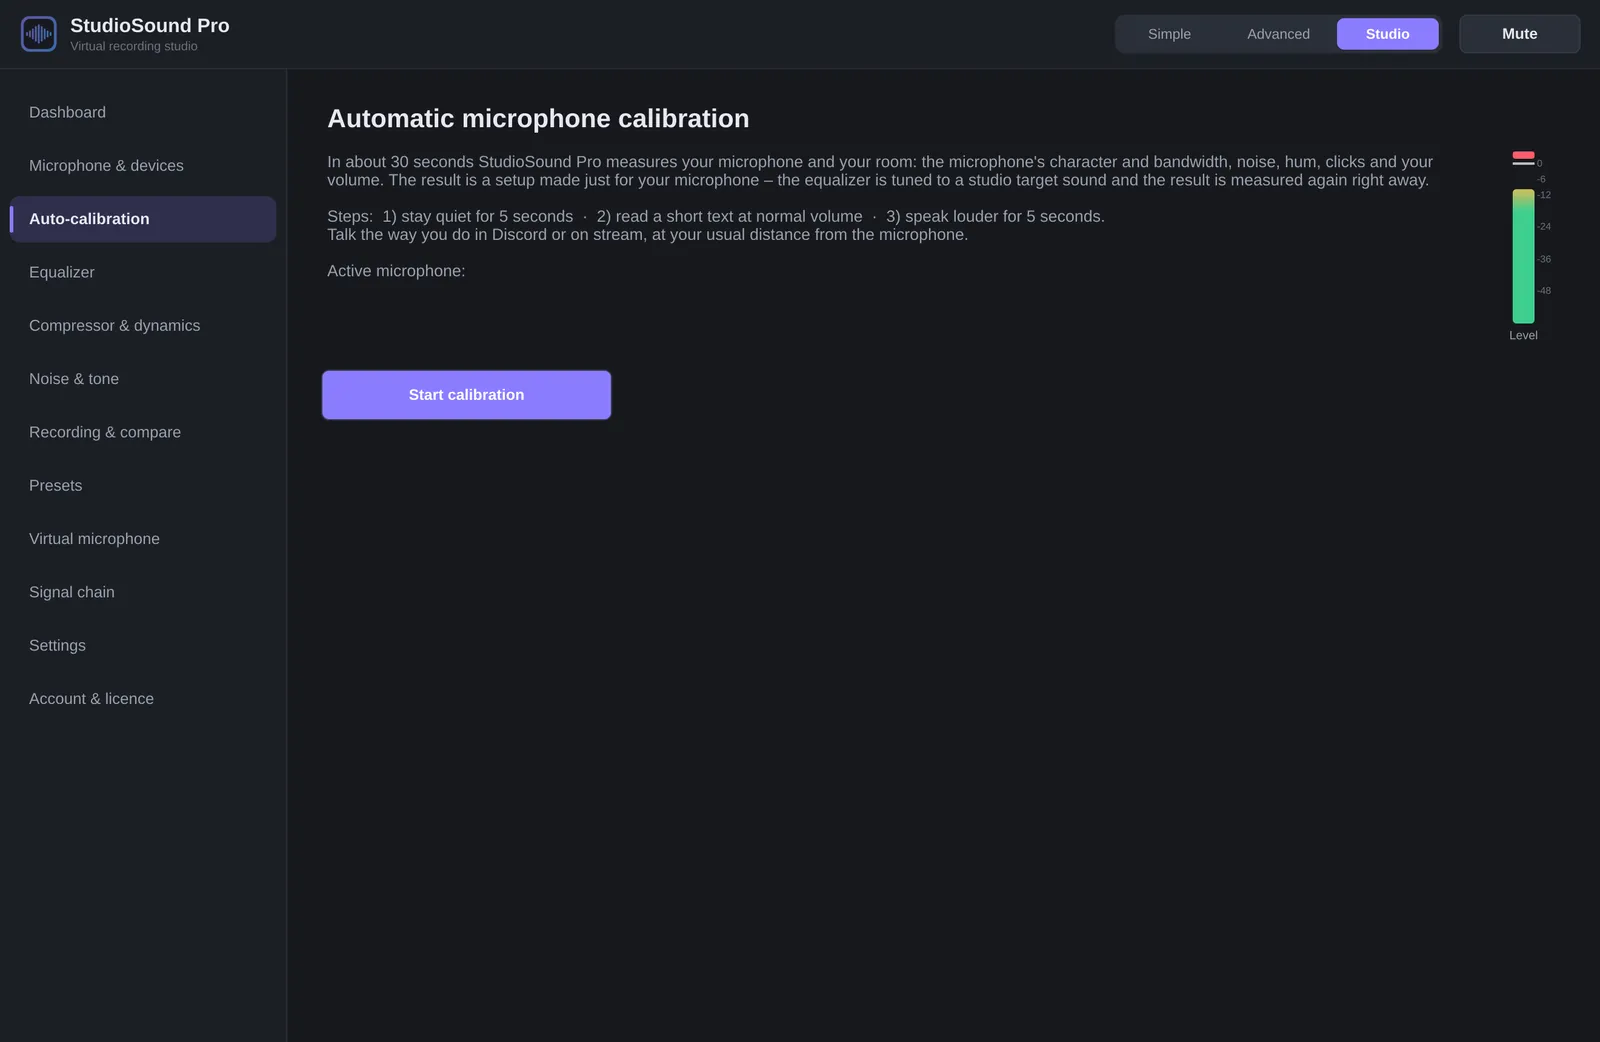
Pick your microphone under “Microphone & devices”. Then start “Auto calibration”: stay quiet for 5 seconds, then speak normally for about 20 seconds. Done – everything is set up.
Tip: Use the same microphone and spot you'll use for gaming or streaming.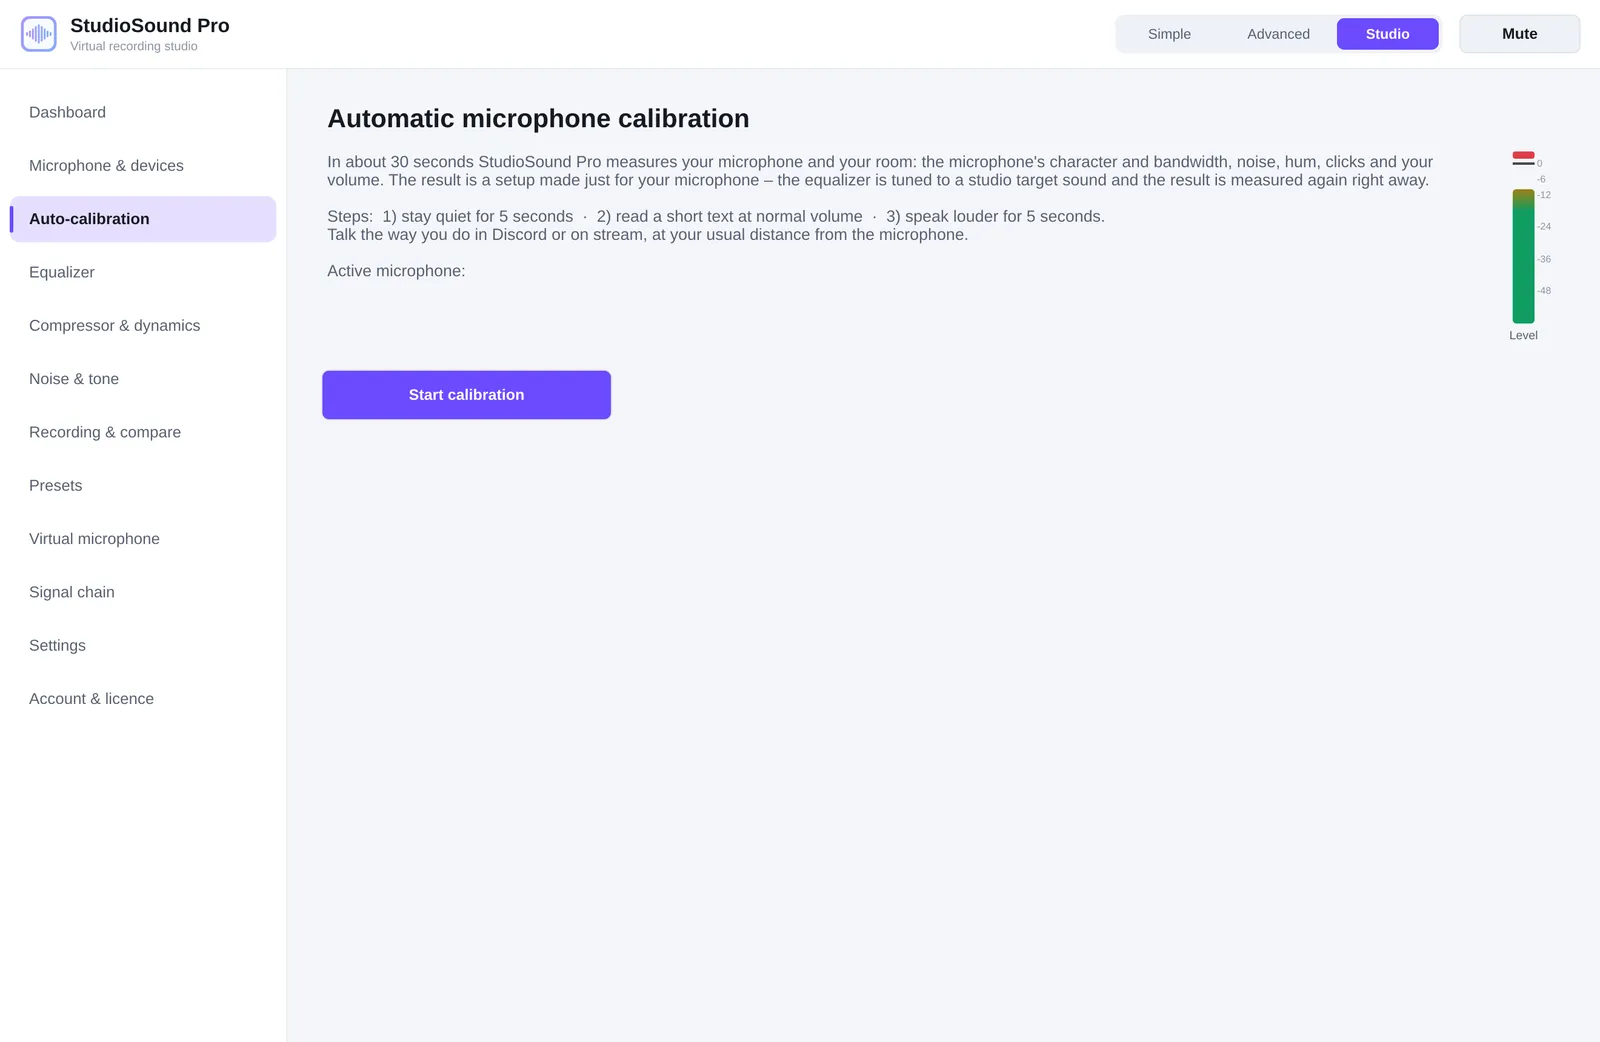
Listen to before/after
Under “Recording & comparison” record 10 seconds and instantly switch between original and processed – level-matched so you hear the real difference.
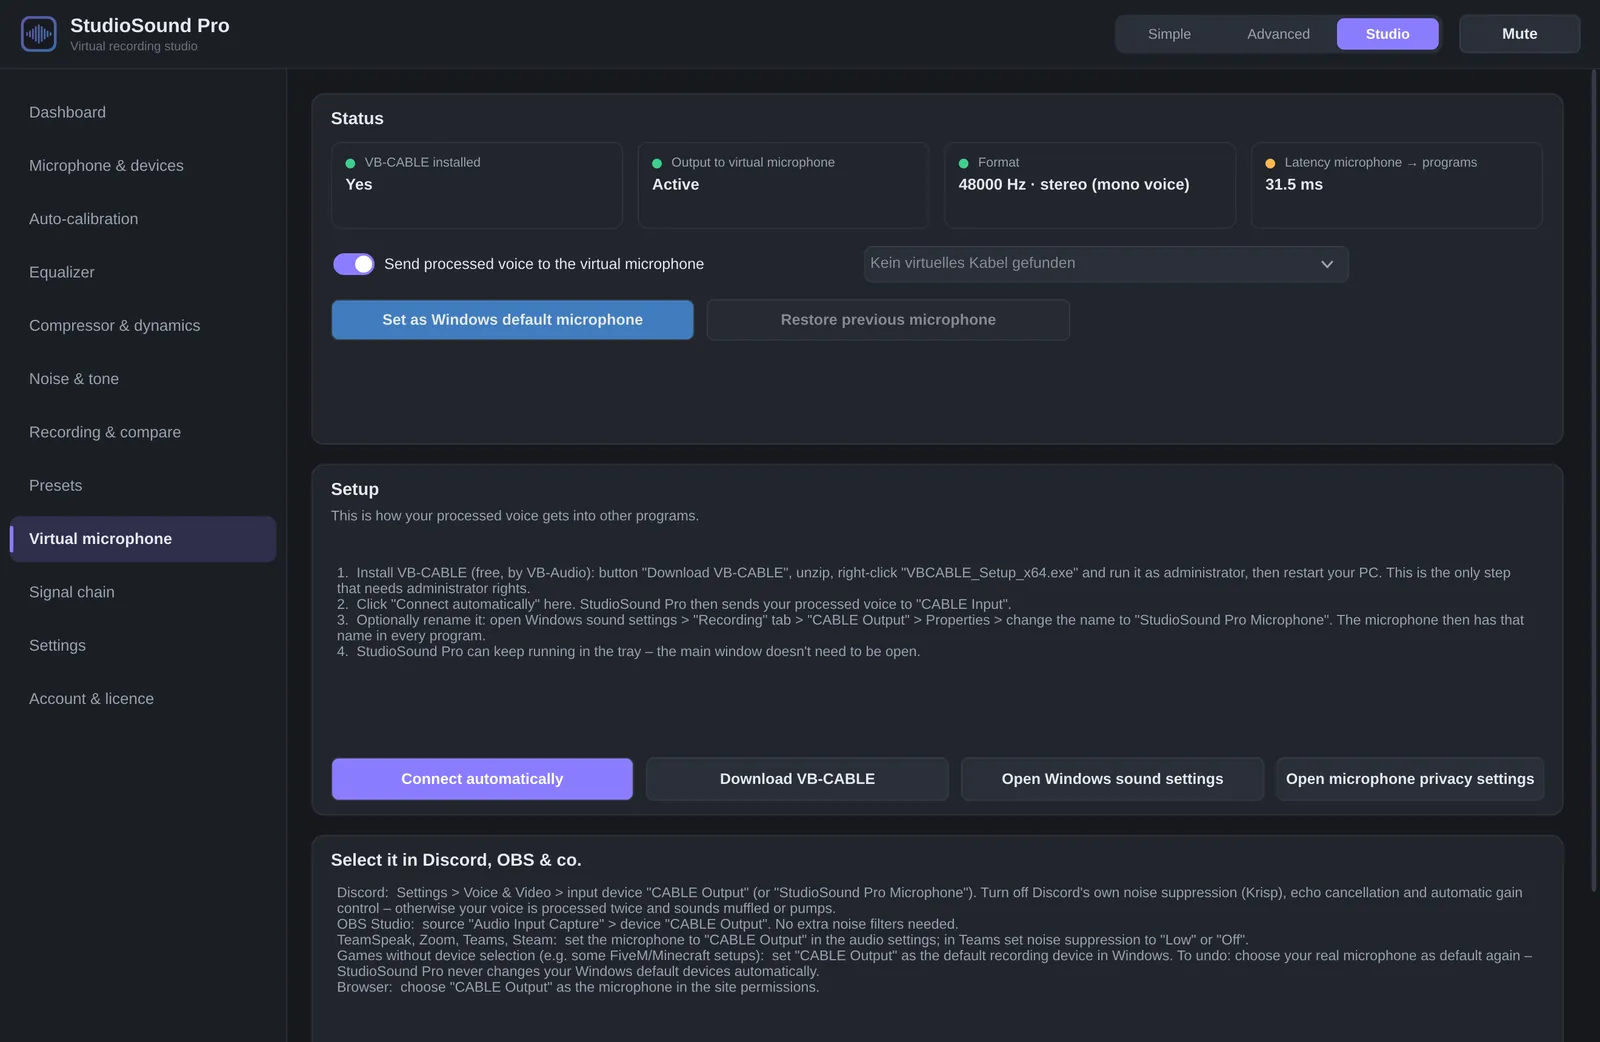
Select it in Discord, OBS & co.
In your app choose “CABLE Output (VB-Audio Virtual Cable)” as the microphone. Discord: Settings → Voice & Video → Input device. OBS: add audio input → CABLE Output.
Tip: Turn off Discord's own noise suppression (Krisp) – StudioSound Pro already does that.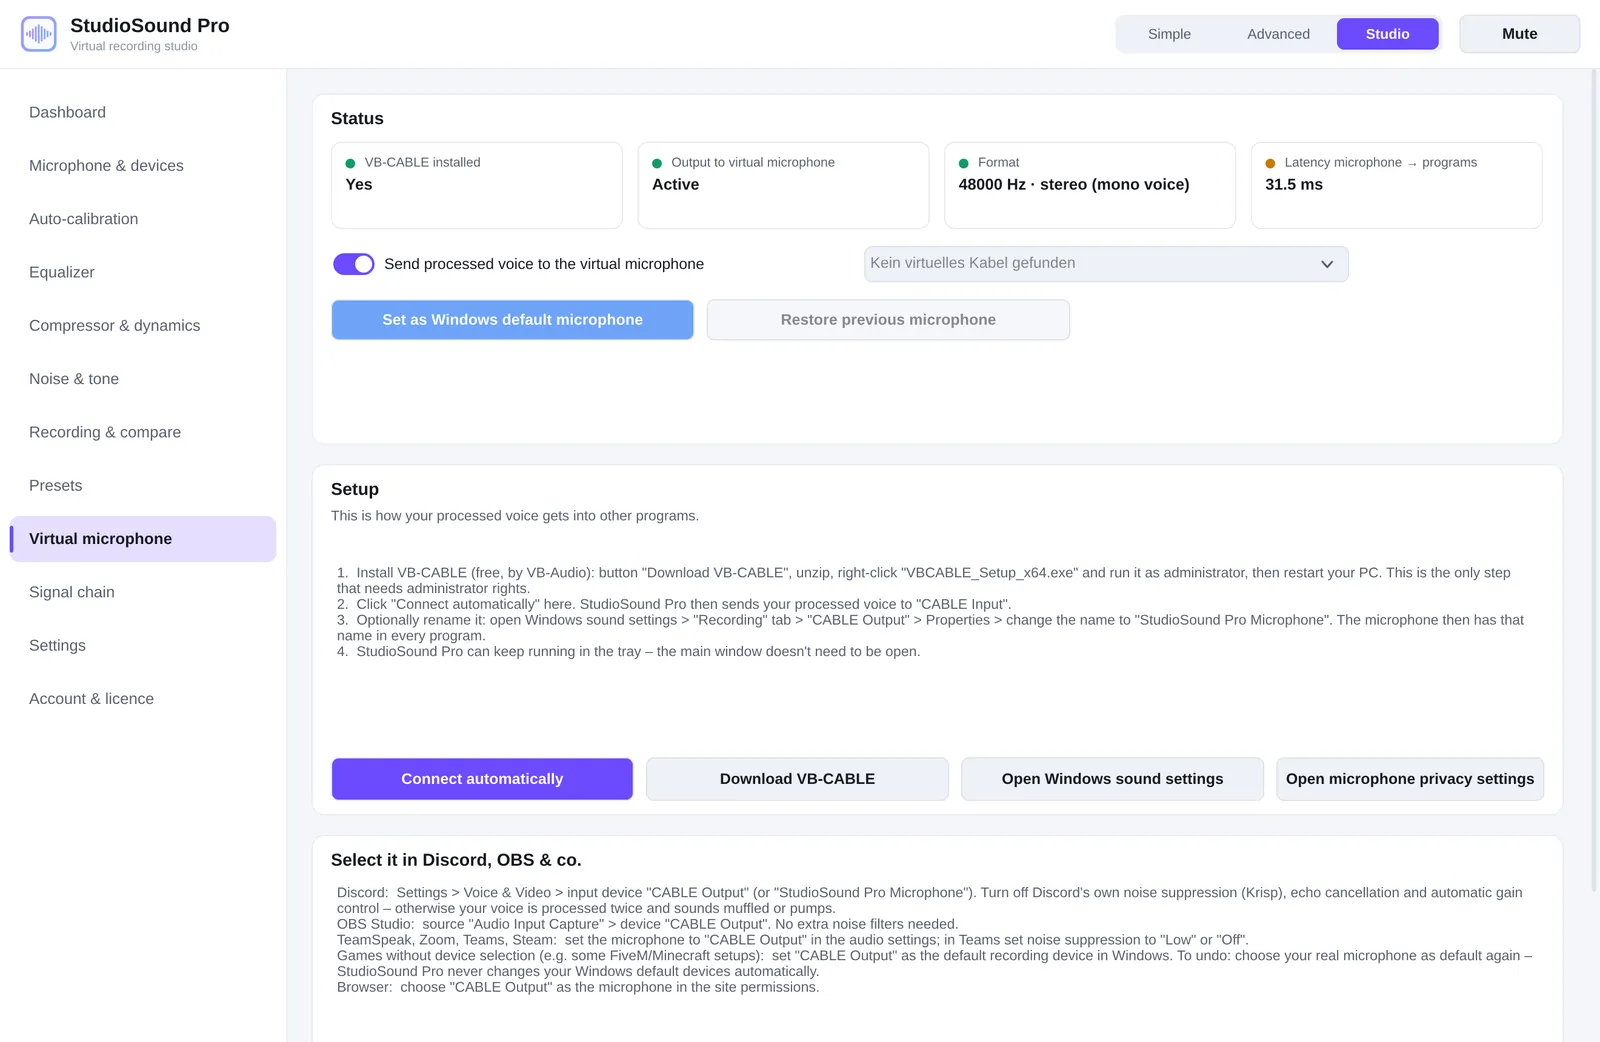
Stuck somewhere?
Write to us using the feedback form with a short description of where you're stuck. We reply quickly.